Showing posts with label recipes. Show all posts

Thursday, March 21, 2013

Natural Food Dyes

You will need a juicer for this recipe


Color and produce used:

Red- beets
Orange- carrots
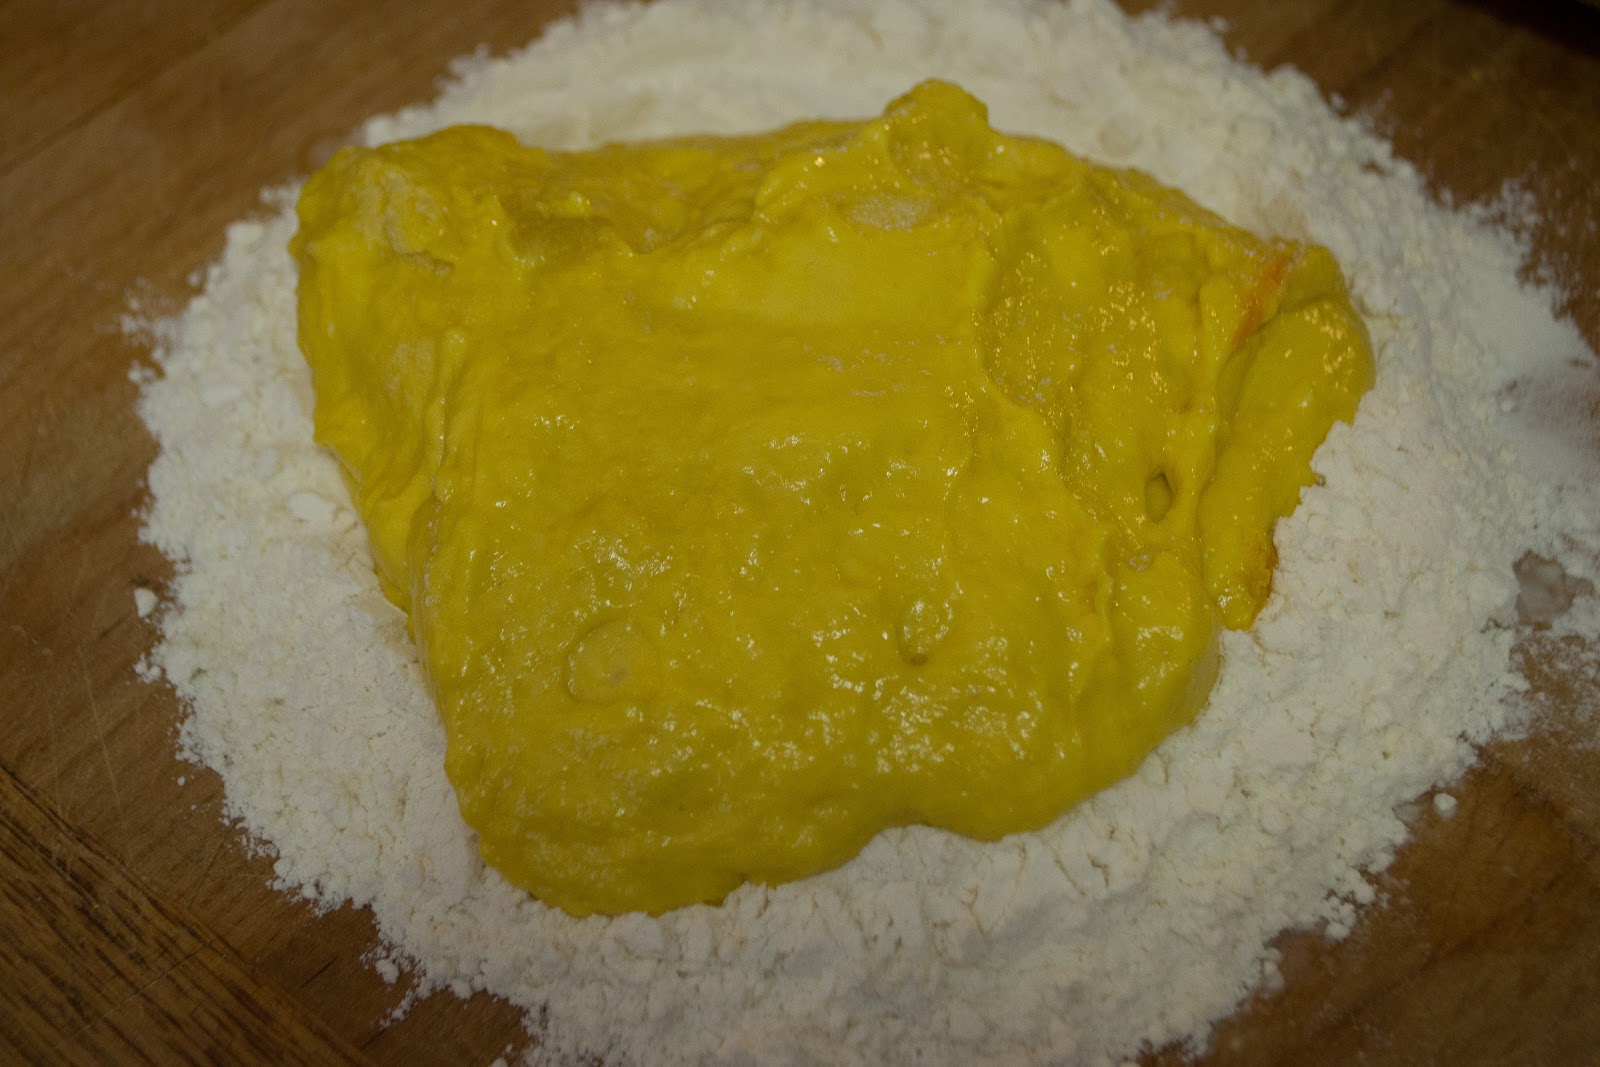
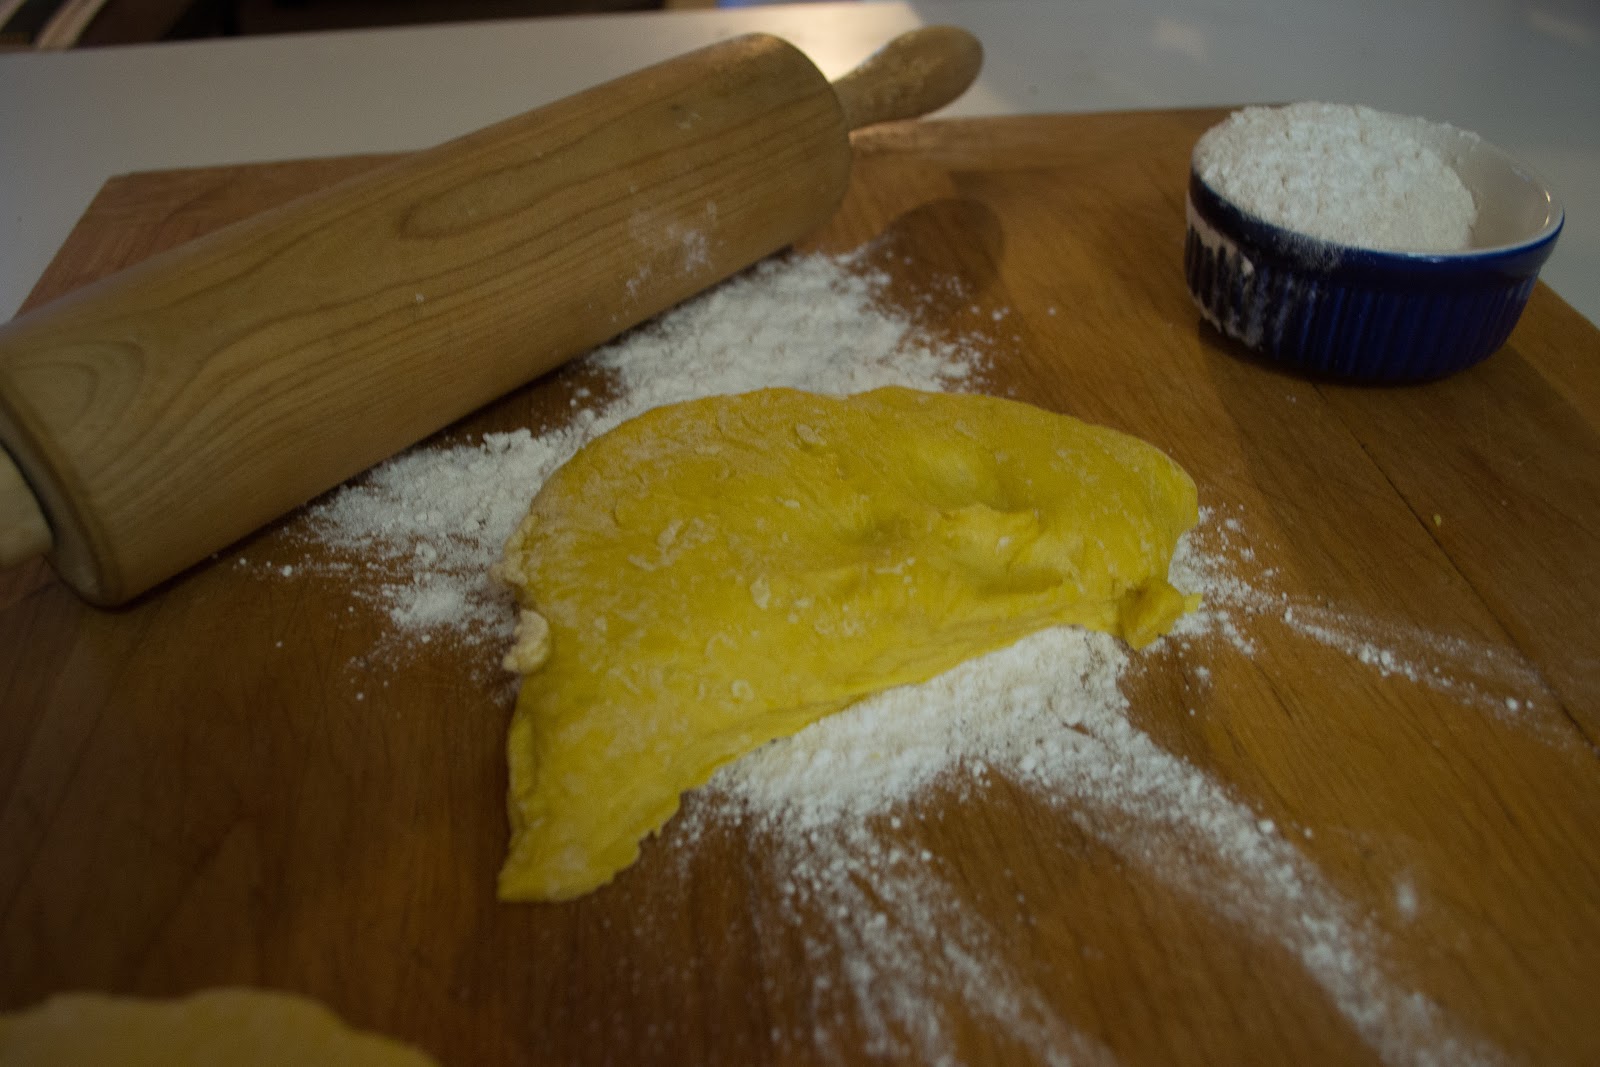
Yellow- mango or yolk 
Green- spinach
Blue- red cabbage 
& baking soda*
Purple- red cabbage

Directions:

-For each color you will need to clean out your juicer each time
-I juiced about 1 cup of each fresh fruit or veggie and came up with a few tablespoons each of every color. Depending on what colors you want and how much you want, juice more or less.
-Dyes are only good for a few days so make new dye each time you need it
-Do not worry too much about the veggie flavors coming through in your food, they are very subtle and won't overpower your flavor and make it gross, promise!!
-* mix in a little bit of baking soda to change the color to blue! its magic, you will see!!
-Use your dyes for your baking recipes, enjoy!!!


Thanks for stopping by, come back soon to See the cute rainbow cake I made with my natural dyes when you check back, its coming soon!!

Wednesday, December 12, 2012

Real Ginger and Molasses Gingerbread Cookies


Late night craving of Gingerbread ice cream sandwiches, dream come true!
Using real ginger and molasses makes these cookies so tasty and makes your home smell like the holidays. 


Ingredients:

2 cups organic flour
1/4 tsp. salt
3/4 tsp. baking soda
1/8 cup peeled and grated ginger
1 1/2 tsp. cinnamon
1/2 tsp. cardamon (omit if you don't like the flavor)


2/3 cup organic brown sugar
2/3 cup organic sugar or honey
1/2 cup soft or melted butter
1/4 cup molasses
1 egg


Directions: (oven at 350 degrees)
1) Mix wet ingredients in one bowl with ginger and sugar as well

2) Mix dry ingredients (all except sugar, see #1)
3) Mix all ingredients together
4) Coat board with flour to roll out dough on
5) Use cookie cutters and cut out shapes you like
6) Bake at 350 degrees for soft cookies 8 minutes for hard cookies 13 minutes.
7) Let cool before decorating!
8) ENJOY!! or save in the fridge for up to 1 week!


Butternut Squash Tortelli con la Coda


Pasta ingredients:
1/2 cooked butter nut squash
3 room temp eggs
2 cups 00 flour
splash of olive oil

5 Cheese Filling Ingredients:
1 fresh mozzarella ball a splash of the water
1 slice provolone
1/8 cup ricotta
3 tbls goat cheese
1/8 cup parmesean

Variations:
Pesto
Fresh basil
Italian Sausage

Directions:

1) Cook butternut squash in oven at 250 for about an hour


2) In blender or food processor create filling
3) Once squash is done, cool and scoop out 1/2 of the squash (see this recipe for what you can make with your other half of your squash; Squashcakes)


4) Use squash to create your pasta, No bowl needed, Lay flour on cutting board, create a indent in center of flour to crack your eggs into, mix ingredients on board and mix in squash. Roll out with pasta press or to 1/8 inch thick with rolling pin.


5) Learn to make Tortelli con la Coda or use ravioli press if you choose ("Tortellini with a tail" see this video)


6) Make your little pasta's and boil for 5-7 mins


Top with your homemade marinara sauce and side with a salad and some good friends.

Bon Apitete


Thursday, September 20, 2012

Homemade Apple Sauce

Time to make: 1 hr Makes: 4 small bowls of sauce or approx 3-4 cups

Ingredients:
8 c. peeled and cored apples
1/2 c. brown or turbiano sugar
1 tsp salt
1/2 cup water
cinnamon stick
lemon zest
1 whole lemon juiced
2 tbls butter

Directions:
1) Peel and core apples, add to pot of cold water
2) When pot starts to become full you may turn it on
3) Cook apples 30 mins or until soft
4) Add seasonings and other ingredients now and start mashing
5) Enjoy warm or cold, either way its delicious!!!


You can also can your creations if you like! Make sure to follow all directions for canning.

Monday, April 4, 2011

Sprouting Raw Beans at Home

Ingredients:
1 cup dry beans
2-3 cups of water
Mason jar with screen, fabric or nylon top

Directions:
This project takes three days to create.
Day one: Rinse beans and let sit 12 hours in full jar of water soaking in water. Its easiest if you start in the morning or nighttime.
12 hrs later: Rinse beans well, if you like just shake around in mason jar with water a few times. This time DO NOT fill mason jar with water.
Next strain well, then put back into jar and open aired lid and remember NO WATER. I lay the jar upside down for about 5 mins to drain then flip back over to get air all day.
For the next 2-3 Days you will: rinse beans twice a day (remember you can use wastewater to water house plants), strain well, put back in jar to "sprout" more. By the end of day three (or 72 hours after original rinse and soak day). The beans are ready and soft enough to eat at this point you will need to keep them in the fridge.

Use these beans for: raw hummus, yumm sauce or yumm bowls, on salads or just for a snack. They will last a week or so in the refrigerater.

You can also sprout other types of beans and make other "raw" bean dips.


Related Posts Plugin for WordPress, Blogger...